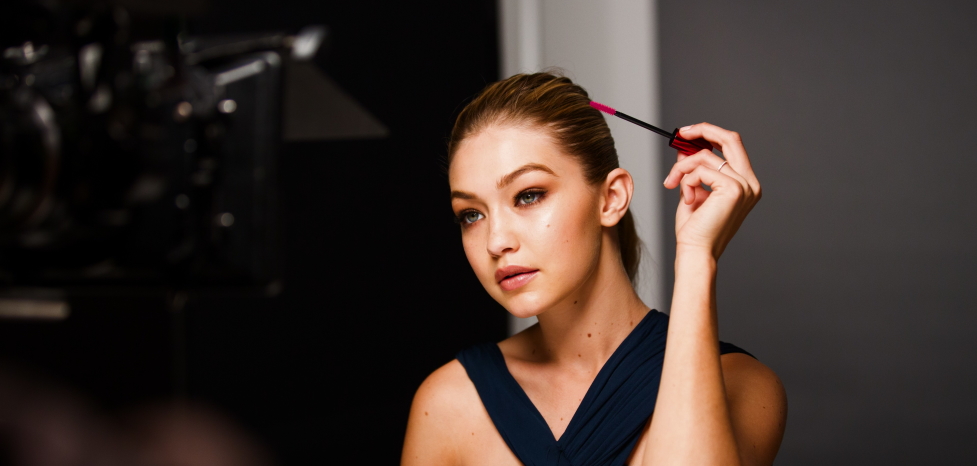
Tips to do a makeup for a photoshoot
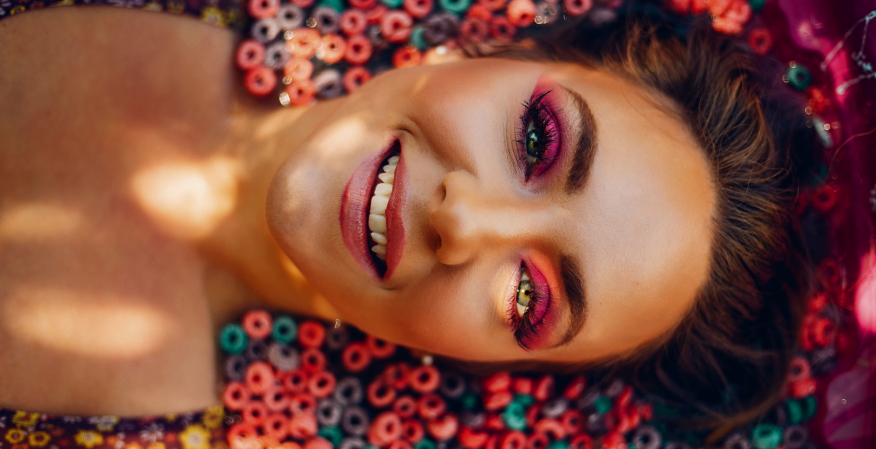
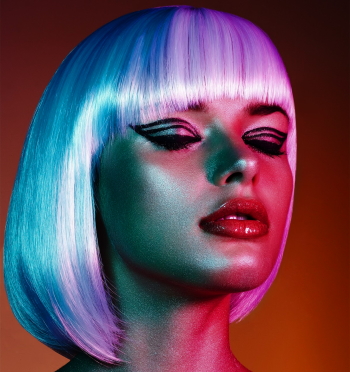
Since the camera “eats” up to 30% of the color intensity, make-up for photography should be created a little brighter than usual, and the emphasis should be placed on both the eyes and lips. Follow the instructions from the makeup artist. Photo shoot makeup has its individual individualities. It needs to be made, firstly, brighter than usual, and secondly, do not be afraid to accentuate both eyes and lips with it. Follow the tips to do a makeup for a photoshoot.
Wipe with micellar water to remove impurities and cleanse your skin. Apply a non-greasy moisturizer, such as milk or lotion, all over your face.
Massage your face lightly, starting from the center of your forehead, chin, nose and moving towards the contours. This will help speed up the blood circulation process: the face, like the body, needs “charging”.
 When having a makeup for a photoshoot, make sure that there is no excess shine on the skin. Apply a pea-sized amount of matting primer to the areas of the face where the oily sheen starts to appear.
Apply illuminating primer locally to the skin – on those areas where the maximum reflection of light occurs (cheekbones, sides of the face, “back” of the nose and chin). Your task is to give your skin a delicate glow.
To pre-prepare your lips, apply a balm. This should be done especially for those with dry or chapped lips.
Using your fingers, apply foundation all over your face, paying particular attention to areas along the hairline. This will not create a mask effect.
Use a concealer to cover redness, inflammation and other visible imperfections. Do not forget to apply it on the “wings” of the nose and nasolabial folds. Work well under the eyes with concealer.
To prevent shadows from rolling during long photo sessions, apply a primer to your eyelids, such as Urban Decay’s Primer Potion. Distribute it quickly over the skin: the product instantly “grabs”.
Go along the lash line with a brown pencil. And on the entire movable eyelid and in the fold, apply liquid shadows with a shimmer: they will give the skin shine, “open” the eyes, and in addition, if necessary, will help create the effect of wet eyelids. Choose nude, neutral shades and apply with a fluffy eyeshadow brush.
Darken the area along the lash line again with a pencil. Use your fingers to blend the outline of the eyeliner to make it fuzzy.
Apply a translucent powder to set the concealer under the eyes. This is also necessary in order for dry shadows to be evenly distributed in the future: they fit better on a dry texture than on a cream one.
To add extra sparkle to the eyes, add light shadows with shimmer to the inner corners of the eyes.
Paint over the lashes with mascara and brush them with a clean brush to remove excess. On the last third of the lash line, starting from the outer corner of the eye, glue the tufts of false eyelashes.
Comb your eyebrows (choose eyebrow makeup with a brush) and give them a natural, not too geometric shape, painting over with a pencil in the direction of hair growth.
Lightly brush the peach blush over the cheekbones and apples of the cheeks. Lines don’t have to be crisp, makeup needs freshness and naturalness. You can apply the pigment a little more intensely, because it is “eaten” by the camera.
Walk along the top line of the cheekbones with a highlighter. Select the sub-zygomatic zone, make light contouring – so in the photographs the contours of the face will be clearer.
Fill the lips inside the contour with a peach-colored pencil – this way the lipstick will hold better. The pencil can dry out the skin, so add lipstick to match it (if you want your lips to be matte, stop at the stage of applying the pencil).
With a transparent powder, lightly walk over the T-zone or use matting wipes to remove oily shine from your face.